Need a Shower Door Seal Replacement? We’ve Got You Covered!
A leaking shower door can quickly turn into a frustrating problem – wet floors, mould growth, and long-term damage to your bathroom. Often, the culprit is a worn or damaged shower door seal. The good news? Replacing it is quick and easy with the help of the experts at ShowerFix.
Whether you’re a DIY enthusiast or just trying to keep your home clean and healthy, this guide will show you how to replace mouldy silicone in your shower, step by step.
Why Shower Door Seals Matter
Shower door seals are essential for keeping water inside the shower where it belongs. Over time, seals can:
Crack or split from wear and tear
Lose flexibility and stop sealing properly
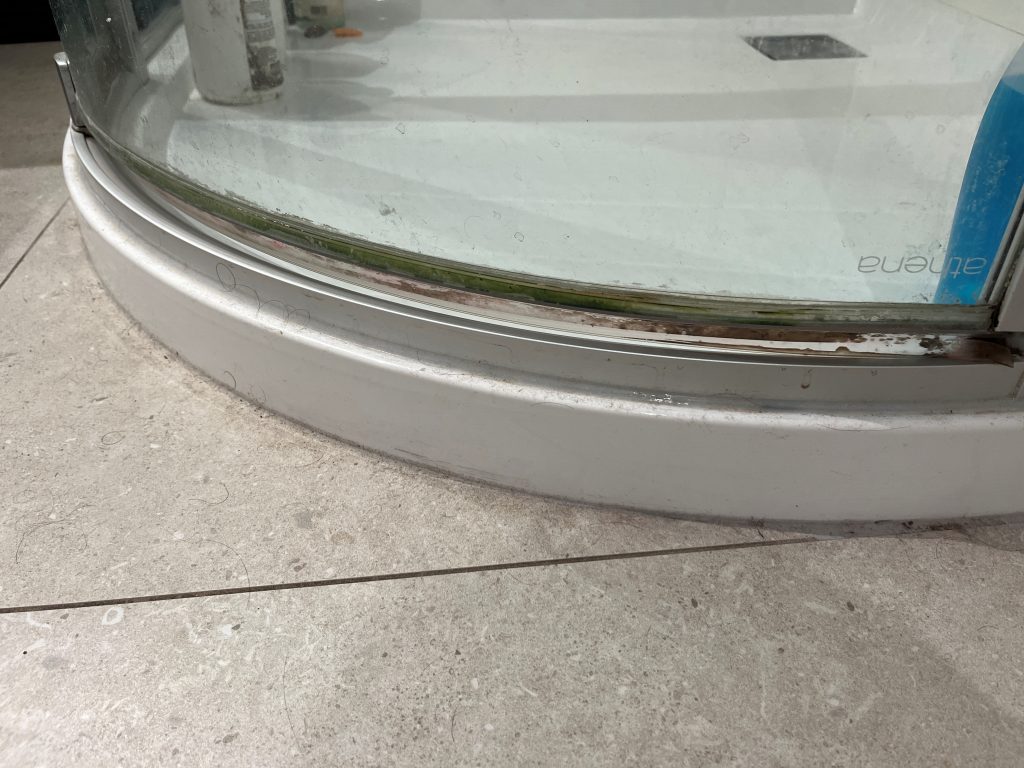
Develop mould or mildew
Become loose or fall off entirely
When this happens, your shower may start leaking – damaging your floor, nearby cabinetry, or walls.
Expert Shower Repairs and
Installations Across New Zealand
When you need a leaky shower fixed, a shower door replaced, or complete installation. Our friendly, reliable, and no-nonsense team will be on the job and will provide quality services each and every time.
Professional Shower Door Seal Replacement
At ShowerFix, we specialise in replacing shower door seals for a wide range of brands and models. Whether you have a hinged, pivot, or sliding shower door, we’ve got the right solution to stop those annoying leaks.
Here’s what you can expect:
- Fast, expert installation of the correct seal
- On-the-spot replacements for common shower types
- Access to a wide range of hard-to-find seals if needed
- Friendly, local service you can trust
Unsure Which Seal You Need? Just Ask!
If you’re not sure what type of shower door seal your enclosure requires, no problem. Simply:
Take a clear photo of your existing shower door and seal
Send it to us – and we’ll help identify the perfect match
We’re here to make the process easy, even if you don’t know the make or model of your shower.
Why Choose ShowerFix?
✅ We carry common seals on our vans for same-day service
✅ We’ll source less common or specialty seals quickly
✅ All work is professionally installed and fully guaranteed
✅ Local knowledge backed by national support
Expert Shower Repairs and
Installations Across New Zealand
When you need a leaky shower fixed, a shower door replaced, or complete installation. Our friendly, reliable, and no-nonsense team will be on the job and will provide quality services each and every time.